千辛万苦,Hexo搭建好了,Theme也测试好了,最后一步就是将本地的内容发布到Github Pages上去。Git我是第一次用了,网上查了很多资料,也没找到关键的。通过不停的搜索和摸索,终端总结好了这个步骤,现将它记录下来。
一、设置Git的user name和email
git config --global user.email "[email protected]"git config --global user.name "Your Name"

注意:这个Your Name不是用户名,是仓库的名字。我前面因为填写错误,后面又重来了一次。
二、生成SSH_Key密钥文件
我们需要寻找一对 id_rsa *或 *id_dsa命名的文件,其中一个带.pub扩展名。.pub文件是你的公钥,另一个则是私钥。
输入
cd ~/.ssh,检查是否由.ssh的文件夹。
如果文件夹不存在,我们新建并进入。

输入
ssh-keygen -t rsa -C “[email protected]”,连续三次回车,生成密钥。id_rsa和id_rsa.pub默认存储路径在:C:\Users\username\.ssh。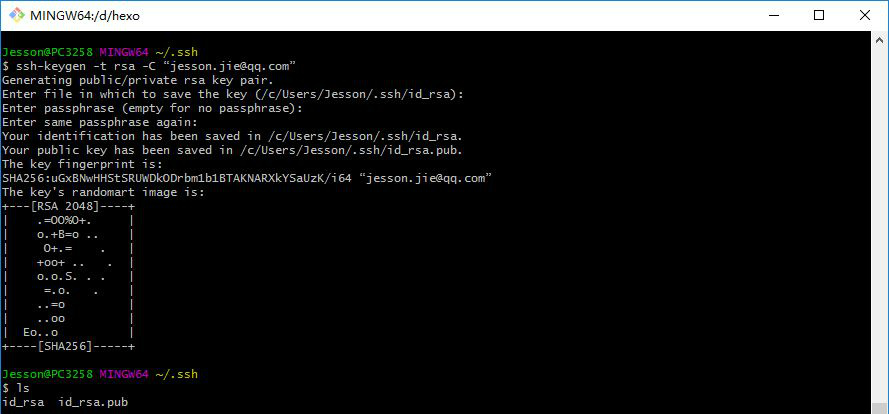
输入
eval "$(ssh-agent -s)",添加密钥到ssh-agent。
输入
ssh-add ~/.ssh/id_rsa,添加生成的SSH key到ssh-agent。
三、添加SSH_Key密钥到Github Pages
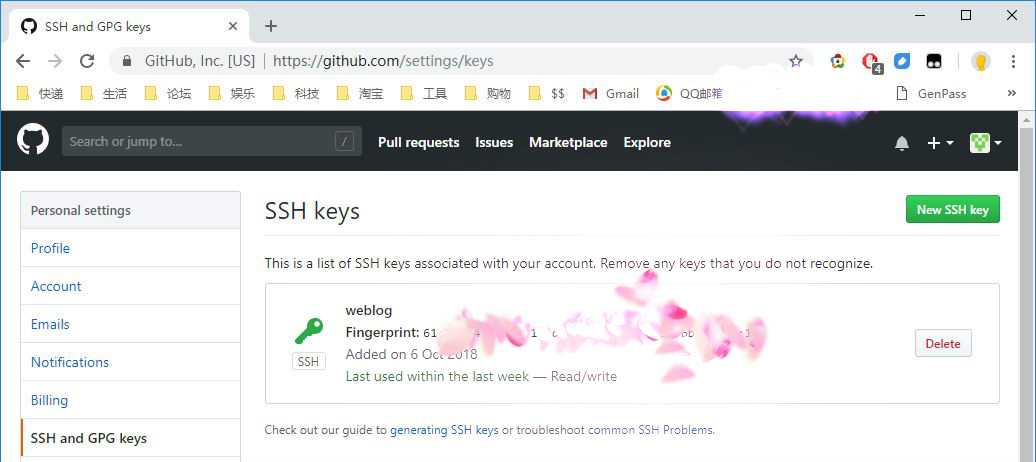
登录Github,点击头像下的settings,选择左侧的SSH and GPG keys,添加ssh。
打开
C:\Users\username\.ssh,复制id_rsa.pub里面的内容。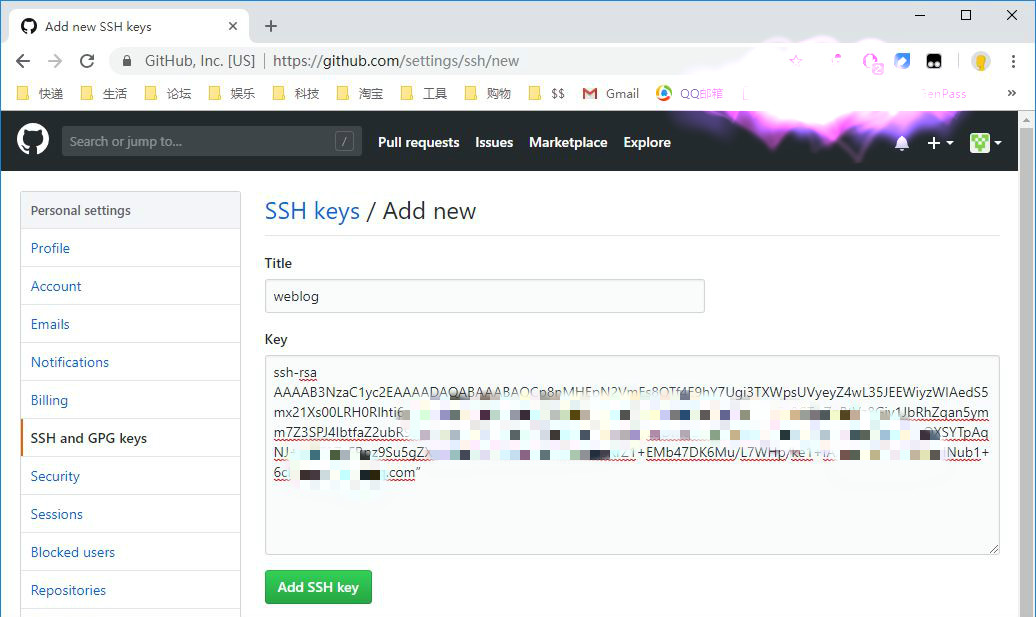
输入
ssh -T [email protected],测试添加ssh是否成功。如果看到Hi后面是你的用户名,就说明成功了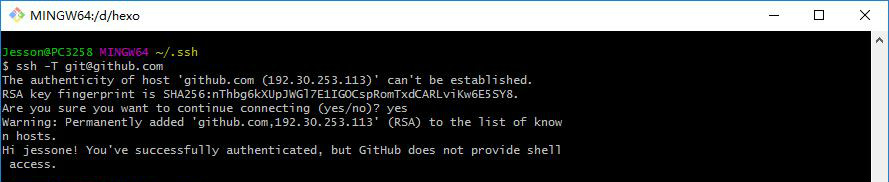
四、发布吧,骚年。
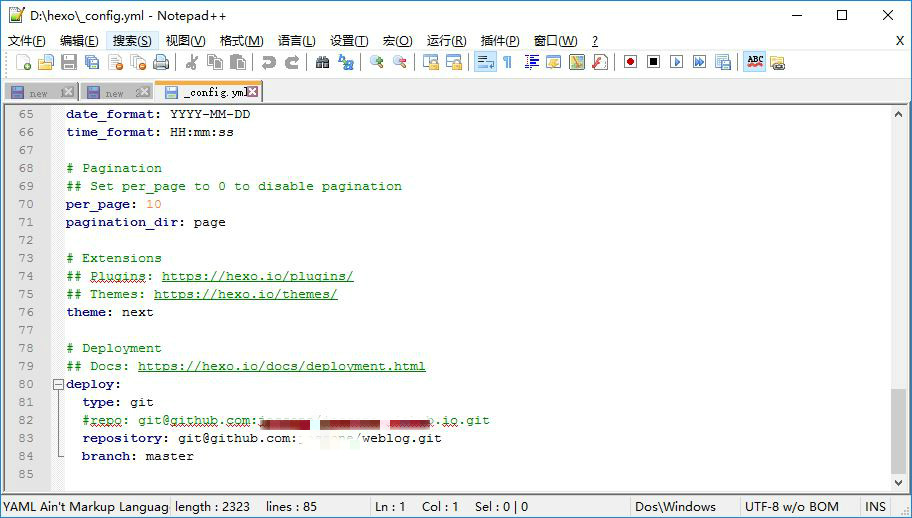
配置Deploy,在hexo文件夹中,找到_config.yml文件,修改repo值
安装一个扩展:
npm install hexo-deployer-git --save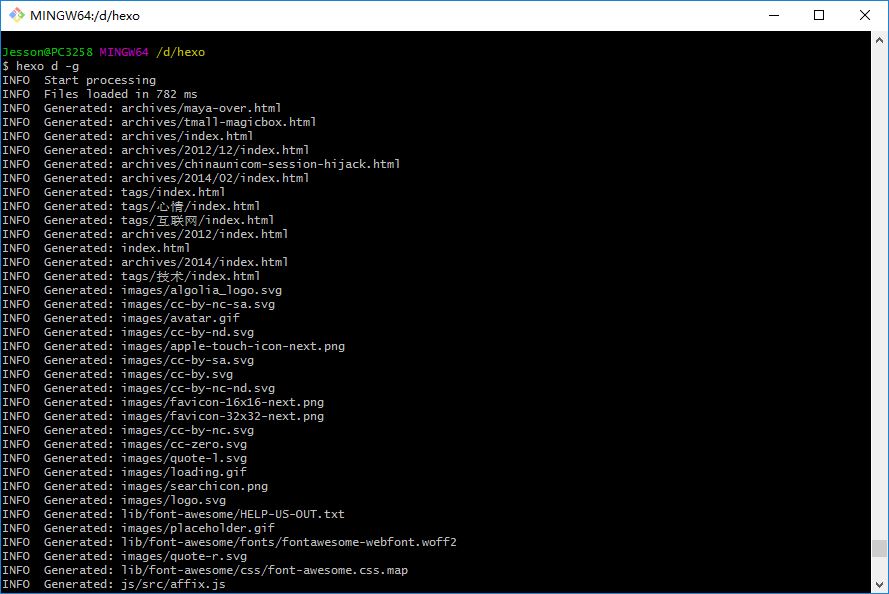
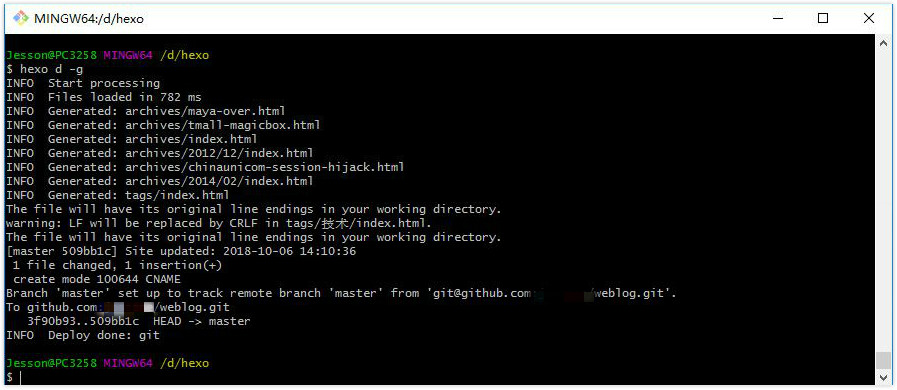
进入hexo文件夹,输入
hexo d -g,更新内容并发布网站